Logging In
To login use the URL, Username & Password provided at the time of provisioning.
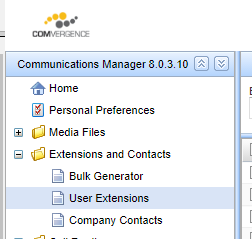
User Extensions
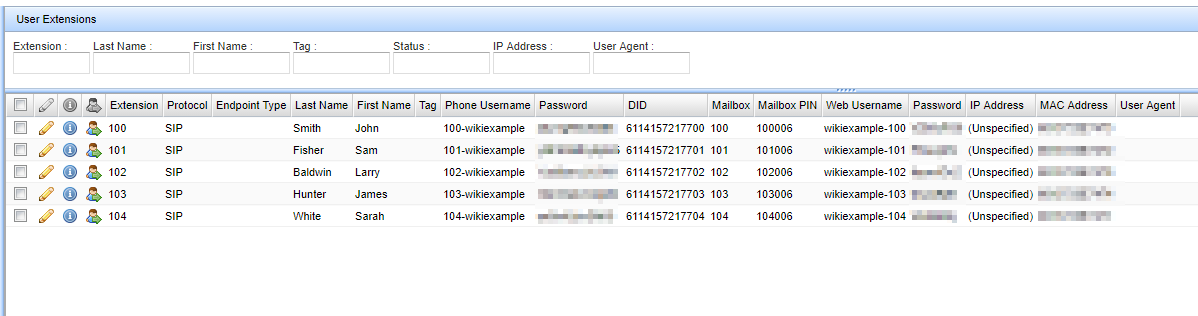
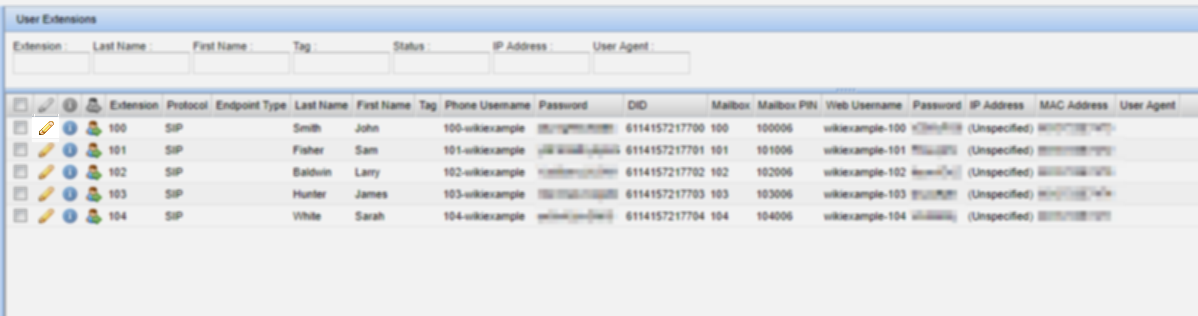
After logging in expand “Extensions & Contacts” and select “User Extensions”
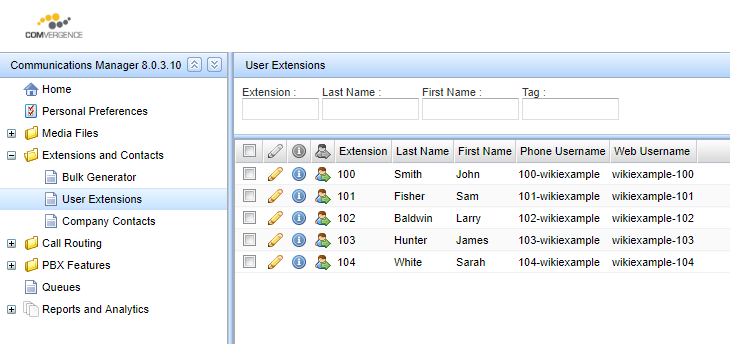
You can now view a list of all users and their associated extension.
Hint: Selecting this icon in the top right of the screen will allow you to view additional detail.
You can now see an overview of extensions & users:
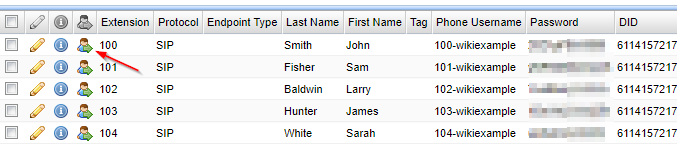
Logging into User Portals
To log into the user portal for a specific extension, click this icon on the extension:
From here you can:
- View Call History
- Listen & Forward Voicemail Messages
- Configure Personal Preferences
- Configure Voicemail Preferences
- Configure Call Forwarding Rules
- Configure Call Blocking Rules
- Configure Call Recording Rules (If enabled)
One of the most common changes from the User Portal is configuring Call Forwarding for an extension; After selecting the user you wish to log in as, expand “Settings” and “Call Forwarding”
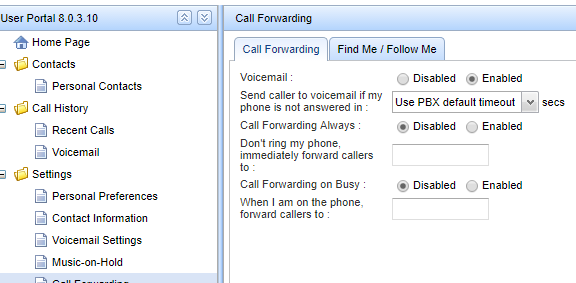
From the Call Forwarding Tab you can “Enable Call Forward Always” and enter the destination you wish to forward to.
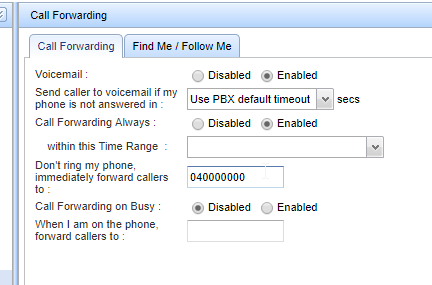
This can be done on the handset also, which in many cases is easier to manage.
Modifying User Extensions
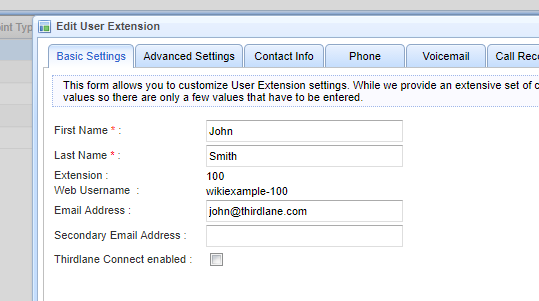
Select the Pencil next to the User you wish to modify
From the “Basic Settings” tab you can change values like name and email address.
From here you can also access the Voicemail Tab.
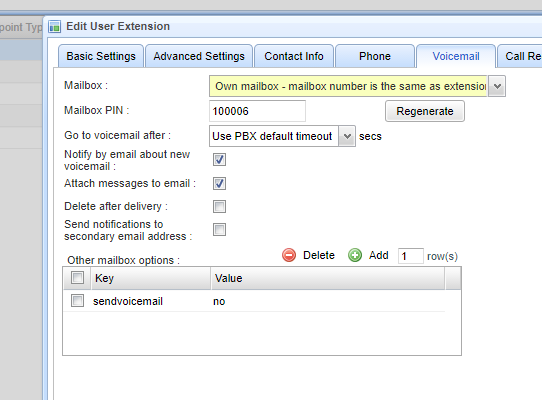
From here you can change/view the Voicemail PIN, select mailbox (ie set extension to use another voicemail box than it's own), enable Voicemail to Email Notifications, Voicemail to Email Attachments & Voicemail to Email only (Delete after Delivery).
Adding Contacts to Directory
From the Menu Bar on the left expand Extensions and Contacts and open Company Directory.
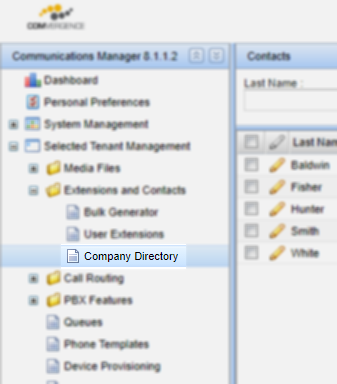
Select Create Contact in the top right hand corner of the screen.

Fill in the contact fields
First Name & Last Name fields are mandatory, whereas all other fields are optional. The phones acquire info from the fields below only. Fields not listed such as E-mail and Department are not displayed on the phone.
- First Name (mandatory)
- Last Name (mandatory)
- Extension
- Work Phone
- Home Phone
- Mobile Phone
- Other Phone
- Company
The phones are able to display up to 4 phone numbers.
The Extension field is not editable and is filled by the system automaticall for internal contact. For internal contacts, the Work Phone field will not be displayed on the phone.
Phones will only displays fields with a value. Empty fields are not shown.
Select Save once done.
Changes take up to an hour to sync to handsets. However rebooting the phone will make them retrieve the last changes immediately.
Performing Bulk Updates to your Company Directory:
Introduction Voice Company Directory is a feature of our customer management system Zone. It allows managing the company contacts directly and conveniently from Zone without needing to login to the PBX User Portal.
All contacts in the company directory show up on the deskphones when “Directory” softkey is pressed.
How to use it Please login to your Zone account as usual with your credentials. On the left menu, navigate to Cloud PBX → Company Directory.

The existing contacts in your company directory are displayed on the page.
Understanding contacts Mandated by the PBX system, the company directory always has the extensions as “internal contacts”. These contact items have an additional field called “Ext” which indicates the extension number of the contact. Internal contacts can be edited except the “Ext” field, however they cannot be deleted. Likewise it is not possible to add a new internal contact. They are created automatically for each extension.
External contacts are ones that can be added/deleted/edited freely.
With the Company Directory in Zone, below functions are possible.
Add a single contact Click the “Add Contact” button to display a popup window. Firstname and Lastname fields are mandatory All other fields are optional (note that a contact without any phone number cannot be called) Edit a single contact Click on the blue edit icon at the far right of a contact Edit the fields as required Delete a contact or multiple contacts (Only external contacts can be deleted. Extension contacts cannot be deleted)
Select multiple contacts by ticking the boxes at the left end Two options will appear on top of the list “Delete selected (n)” : Deletes the selected contacts “Delete all” : Deletes all contacts Import contacts via a CSV file (CSV template is available)
Click “Import Contacts” button In the popup window, click “Download Template” link Open the template CSV file on MS Excel or Google Sheet or equivalent software Add contacts to the CSV file When done, click “Choose the file to import” input box Find the contacts CSV file Enable “Append Contacts” check box if the new contacts should be added to the existing contacts Disable “Append Contacts” check box to overwrite existing contacts with new ones A backup of contacts is recommended before overwriting. Click “Export Contacts” to download existing ones as a CSV file. Click “Import” to start importing contacts
Export contacts to a CSV file Click “Export Contacts” button A CSV file with existing contacts is generated and downloaded NOTE: This CSV cannot be used immediately as an Import CSV file. It includes internal contacts which have “Ext” fields whereas external contacts cannot have. The “Ext” column can be removed to use this file as an Import file. Search contacts Simply enter search criteria. The search is applied to any field of contacts. Order contacts by field Simply click on the column to order the list ascending or descending based on the field.
Configuring Time Range Groups
If your system is using a time based routing rules, the provisioning engineer will have already configured an Opening Hours profile and a Public Holiday profile for your system, however it is up to you to ensure this data reflects what your business wants.
By default there will be 3 Time Range Groups specified:
- Opening Hours - Set for your Opening Hours
- Public Holidays - Where Public Holidays or Exceptions to the Opening Hours rules are specified
- allhours - Catchall for when Opening Hours or Public Holidays haven't been matched
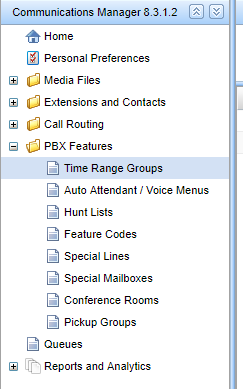
To edit the Time Range groups select the Pencil icon next to the name.
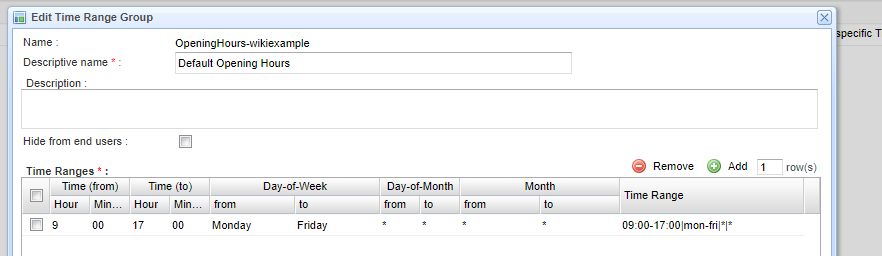
You can now edit the time To & From, Day of the Week, Day of the Month & Month.
For example the below is configured to be open from 9AM until 5PM Monday through Friday:
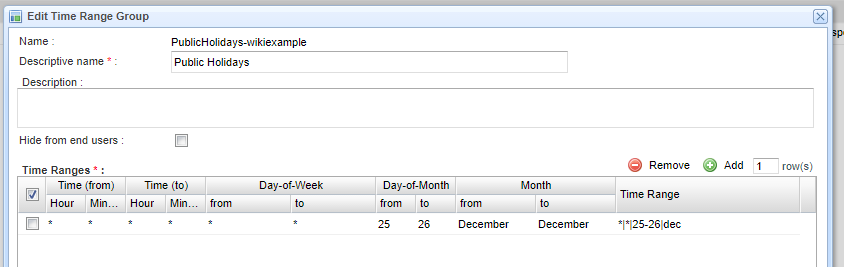
To add a Public Holday date, edit the Public Holiday Time Range Group, click “+ Add”
This example is configured to be closed on the 25th and 26th of December, you can add additional dates by pressing “+Add” again.
To edit the greeting dial 999 and follow the prompts to record the night voicemail.
Inbound Routes
Inbound routes map the incoming phone numbers (DIDs) on the phone system to a destination on the phone system. For example a phone number to ring a user (Extension), or a phone number to ring an Auto Attendant.
You can view your numbers under Call Routing and Inbound Routes.
Unused numbers are listed as Unassigned, and you can create a new route for them by clicking Create Time Based Routes Group.
From here you can select the number you want to use from the drop down list, and then click Add Route.
To match all hours time group select tl-all-hours (for more info on time range groups see Configuring Time Range Groups).
Then select the script you want to call ie tl-huntlist for a hunt list, tl-goto-userextension for a user or tl-menu for an Auto Attendant.

Hunt Lists
Select PBX Features → Hunt Lists

Select the Pencil next to the Hunt List you want to edit:

You can add or remove users from the Hunt Lists by selecting them and adding them to the right hand column.
The Dial Options set two options about how the Hunt List will function.
The i option means the Hunt List will ignore any forward put in place on a user's phone.
The r option will play ringback tone to the caller.


Click Save when done to save the changes.

The Destination on no answer it typically set to point at a voicemail, using the tl-goto-voicemail script and with the option us.

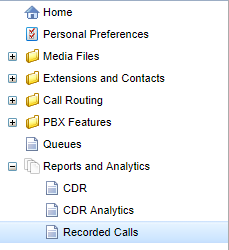
Recorded Calls
If you have opted to purchase the Call Recording Service recorded calls will be available under Reports and Analytics > Recorded Calls
From here you can filter by Time/Date as well as the caller ID.
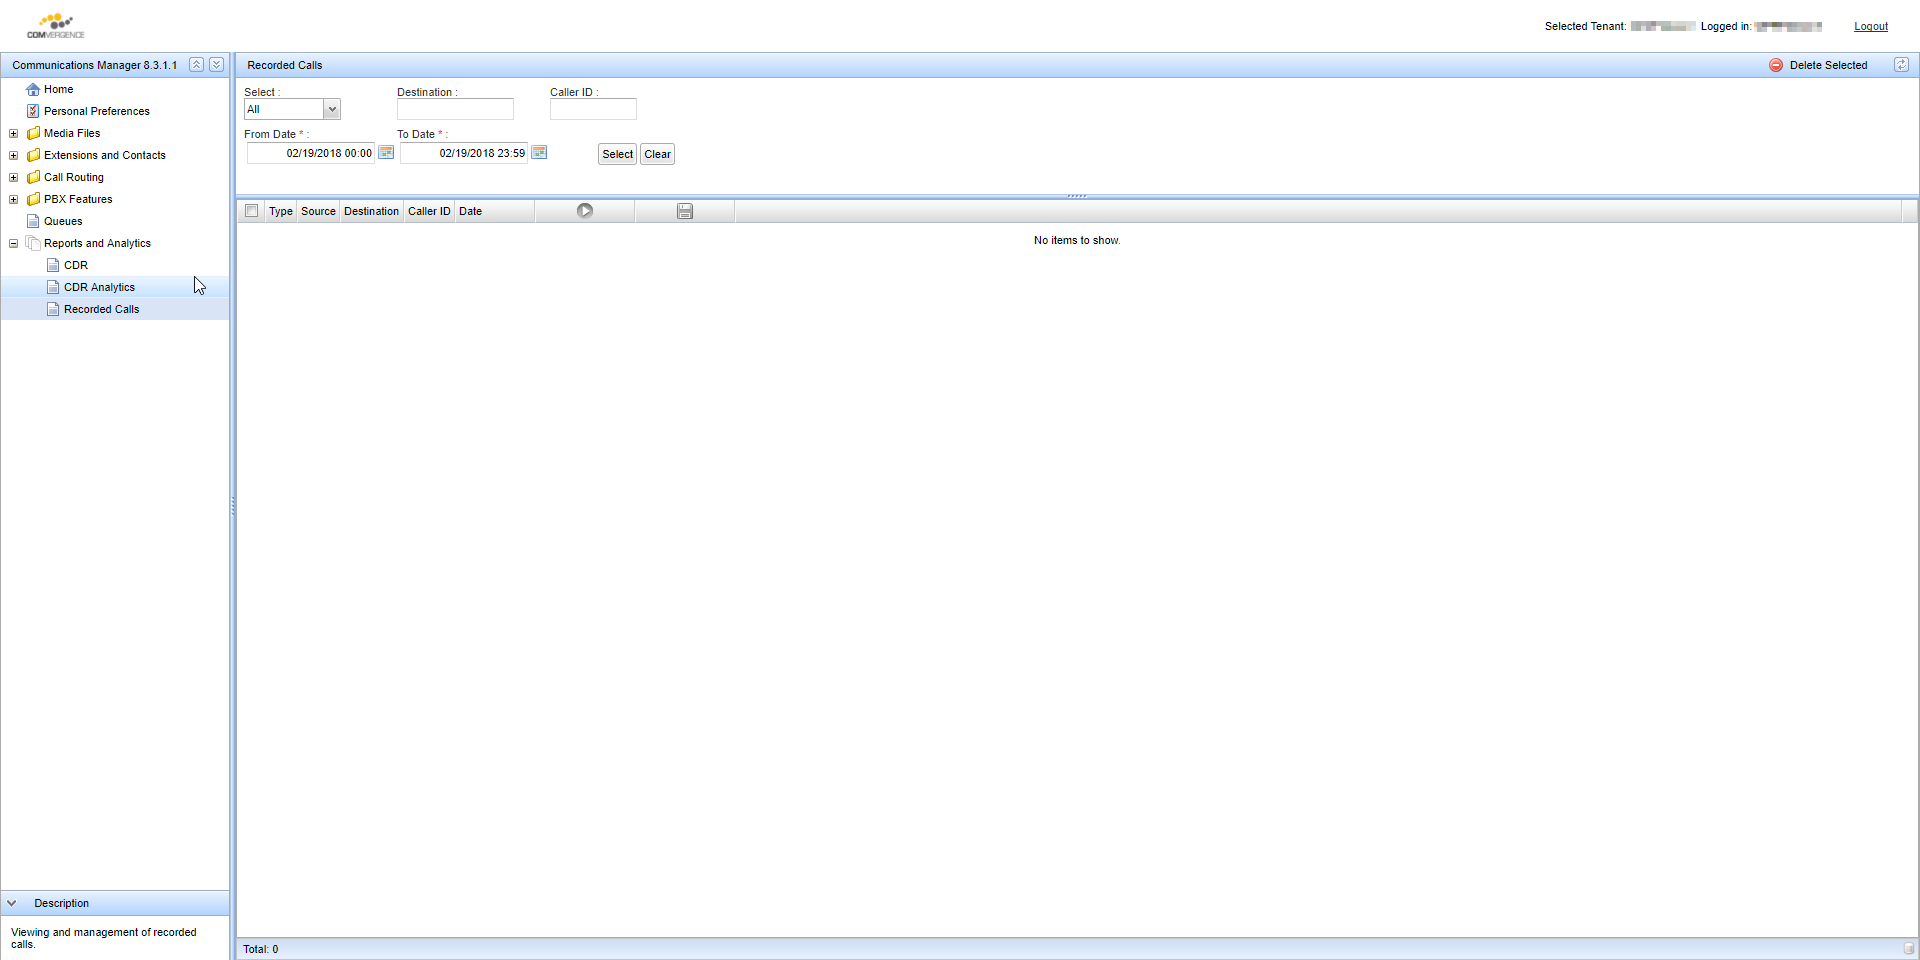
Click the Green Play button to listen back to the recorded call or Save it by clicking on the Blue Save icon.
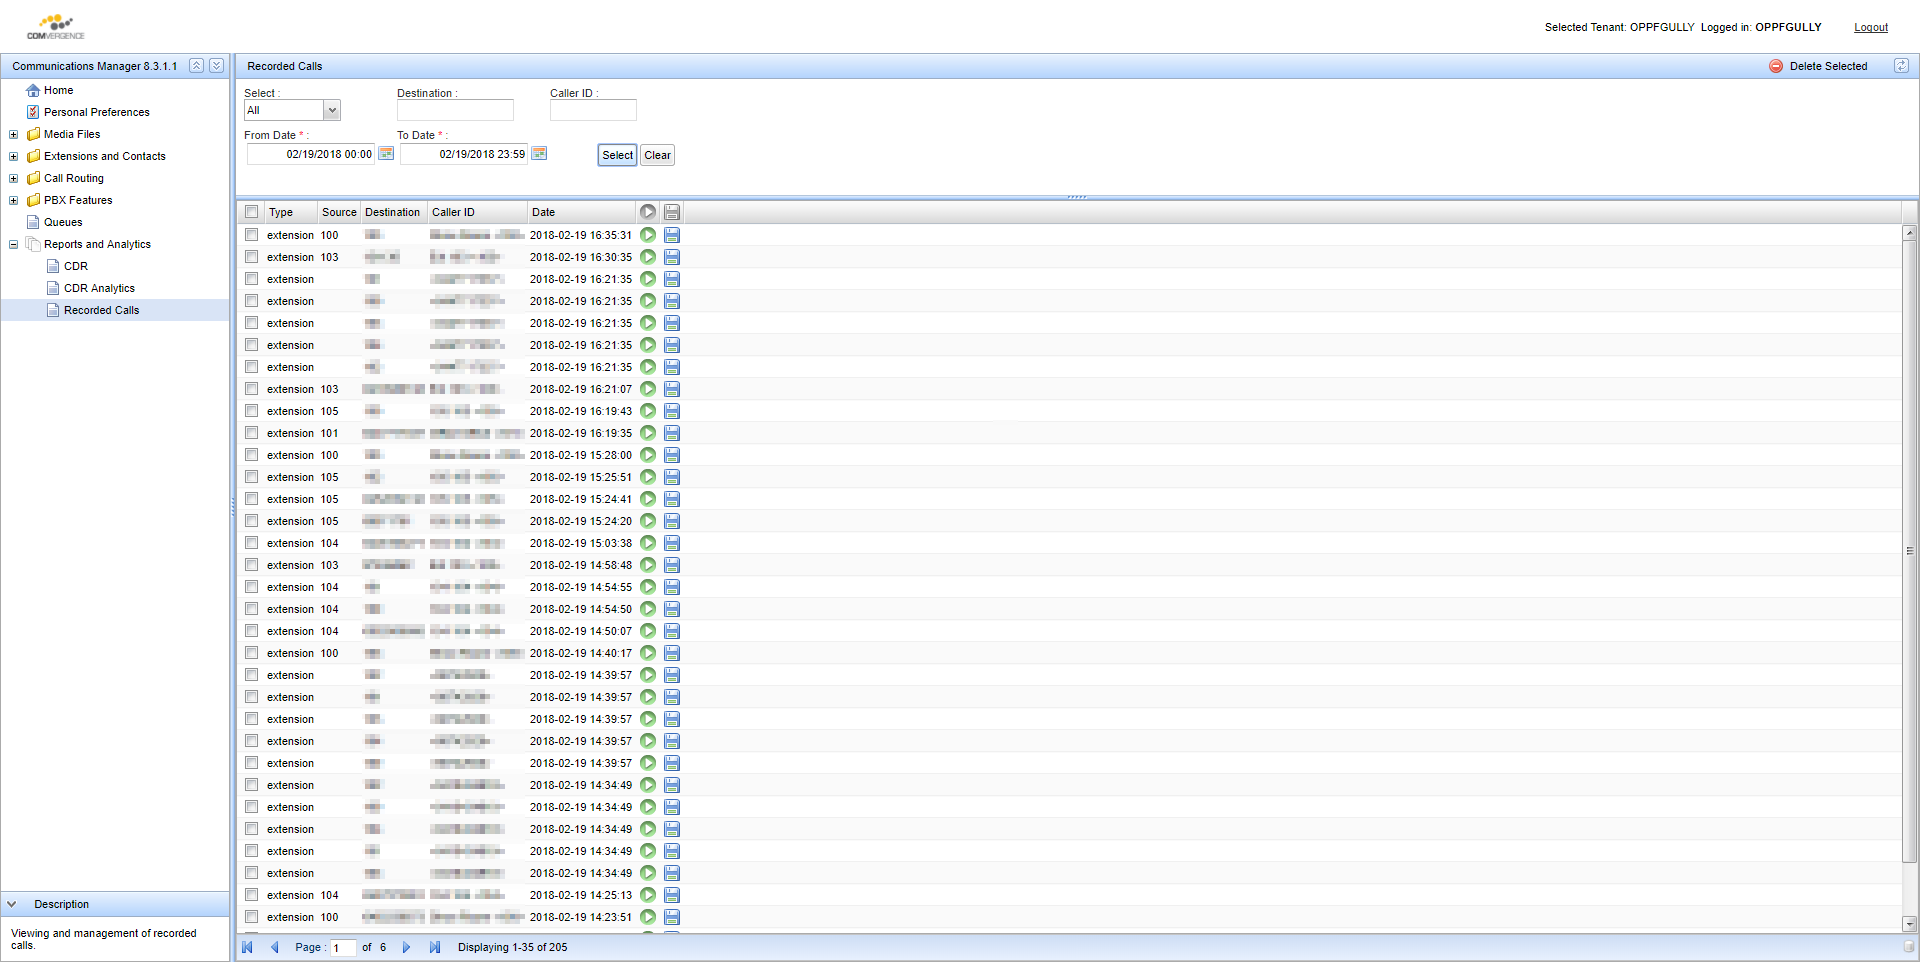 Please note: Recorded calls are stored for a maximum of 30 days
Call Queues
Call Queues work as a more advanced version of a Hunt List.
Setting up a Queue
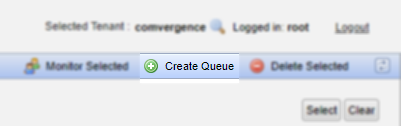
Select Queues from the sidebar.
Select Create Queue in the top right of the screen.
There are a plethora of fields in the Queue setup, it's up to you and your organisation as to which parameters and values are most appropriate, the fields are explained here:
- Name - Name of Queue
- Maximum Callers - The maximum number of callers in the queue, if exceeded it will flow to the next destination setup.
- Ring Busy Members - Call extensions that are already on calls
- Connect to members in Parallel - Call extensions at the same time (If set to Ring All)
- Announce Hold Time - Announce the current hold time to callers.
- Announce Frequency - How often to announce the hold time to caller (If Announce Hold Time is set to Yes)
- Periodic Announcement to Caller - Message played to callers while they are waiting for their call to be answered.
- Announcement frequency - How often the Periodic Announcement is played
- Rounding of hold time - How much rounding should be applied to hold time announcements
- Agent timeout - How long to ring each extension / agent before moving onto the next.
- Agent retry - How long to wait before calling again to an extension / agent that didn't answer previously.
- Report hold time to agent - Announce hold time to the answering extension before connecting the call
- Announcement to agent - Announcement played to answering extension before connecting the call
- Call Recording - Format to store call recordings in (If enabled)
- Ring Strategy - Manner in which extensions are called in. See below
- Ring All - Ring all non-busy extensions in Queue with the same lowest priority
- Least Recent - Ring the extension that has answered a call least recently
- With Fewest Calls - Ring the extension that has answered the fewest calls
- Random - Ring a random extension from the list
- Round Robin next to last - Ring each extension from a list in order, remembering the position in the list between calls
- Ring Extensions in Order Listed - Ring extensions in order listed, starting from the top for each call
- Ring a Random Extension but ordered by weight - Ring a random extension based on the weight assigned to each extension

Routing Calls to a Queue
To route calls to a Queue a Hunt Group must be created to route the call to the queue and onto Voicemail / other destination if not answered.
Select PBX Features then Hunt Lists from the sidebar.
Click the Add button in the top left (Tip - Make sure you don't click “Add FollowMe Based Hunt List)
Click Add Queue to add the Queue to the Hunt list and fill the name and description fields.
If you're playing an announcement to the caller, set it here under the Announcement to caller dropdown box.
In this example we play a message saying the call is being recorded before transferring to the Queue “Support1-Comvergence”
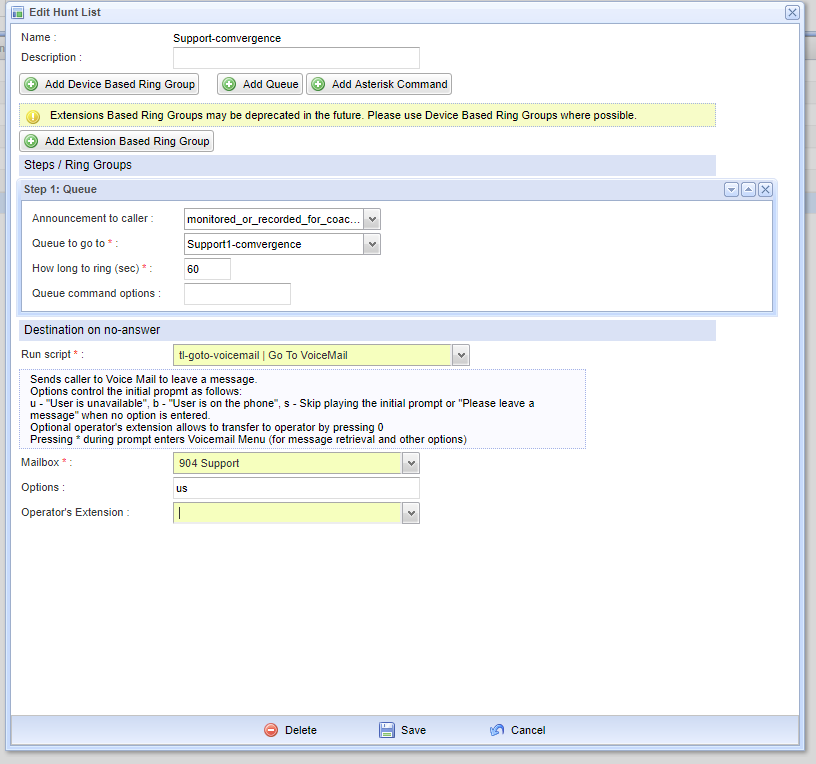
We also set How long to ring (sec) this is how long the call will ring in the Queue before it moves on to the next destination.
Destination on no-answer is set to go to the shared mailbox “904 Support” but this could be set to any mailbox or destination.
Setting Buttons (BLF & Speed Dial)
After logging into the system select Device Provisioning.
In Device Provisioning you'll see the MAC Address of each handset provisioned on your system (A MAC Address is a unique identifier which is stamped on the back of each handset) and the template used globally.
The template is used if the individual handset/MAC has nothing configured on the button described in the template.
To edit a handset/MAC click the pencil icon next to it.
In this example we will assign a Speed Dial key starting from button 7.
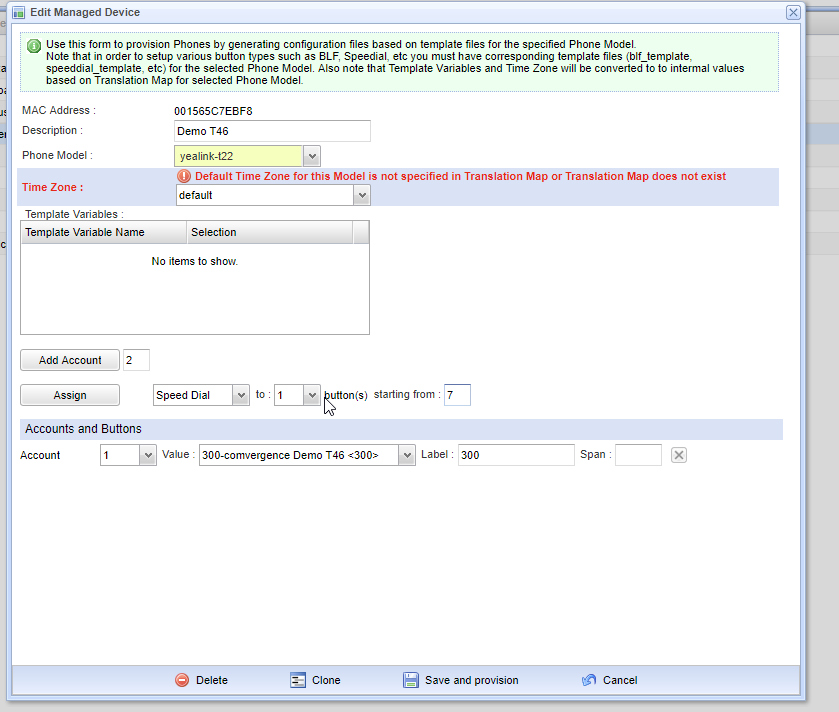
We select “Speed Dial” from the drop down list of buttons, and set “Starting from” to button 7, and click Assign.

In this example we've created a new speed dial on button 7 labeled “Comvergence Support” and going to 0399130000,
To add a BLF Key we'd select “BLF” from the drop down list of buttons, the quantity we want to add (In this case we'll add 2) and the button to start from - We'll start from 8, and click Assign.

We'll enter the extension number we wish to add as a BLF in the Value for each button. (You can leave the Label Blank and it will use the name of that extension as the label).
When done select “Save and Provision”. (This may take up to 10 minutes to be replicated on the provisioning server).
Your handsets will automatically update their config every 24 hours from the provisioning server, if you'd like to speed this up you can unplug and replug your phone to force it to re-provision.
For all buttons that are not set the system will use the buttons specified in the “TEMPLATE” entry.
You can edit the template by selecting the device with the name “TEMPLATE”
Note:
- Do not change / delete the Accounts as this will stop the handsets from working.
- Only BLF and Speed Dial buttons are supported at this stage
Setting up Special Mailboxes
Access to Special Mailbox setup is disabled by default. Please contact our team to request access. Special mailboxes allow a call to go to a voicemail that is not associated with a phone. This means you can use it for an option on an IVR or as the no answered destination for a hunt list for example. These voicemails can only be emailed, they cannot be accessed via a phone. Under PBX Features select Special Mailboxes
Click Create Mailbox

Fields
- Mailbox - This is the unique numerical identifier of the mailbox, for simplicity we recommend keeping these a 3 digit number starting with 9 and just following in sequence, ie 901, 902, 903, etc.
- Owner Name - Descriptive name of the Mailbox
- Mailbox Pin - This is not used if accessing the mailbox internally. Suggest setting to long string of random digits.
- Notify by email about new voicemail - Forward all voicemails to email
- Attach/Delete After Delivery - Enable both
- Email Address - Email address where Voicemails are to be sent

To set the recording in the Special Mailbox dial * and then the mailbox number, For example to access special mailbox number 902 dial *902.
Setting up Auto Attendants / Voice Menus
Access to IVR setup is disabled by default. Please contact our team to request access. An IVR/Auto attendant is a menu accessed by pressing keys on the phone.
It is typically accessed via a Directory Number / DID.
IVRs are setup from PBX Features select Auto Attendant / Voice Menus
Fields:
- Name - Short name of Auto Attendant
- Description - Long description of Auto Attendant
- What to Play - Always set to Pre Recorded Announcement
- Announcement - Select your uploaded Voice Prompt from the drop down list
- Set each digit under Press to the destination you require.
Each option can do one of the following:
- Transfer to Extension - Transfer to an existing Extension
- Transfer to Hunt / Ring Group - Transfer to a Ring Group (New ring groups are charged at standard rates)
- Transfer to External Number - Transfer to an external number
- Transfer to Special Mailbox
- Repeat Options - Plays back the menu options again
- Play Message- Requires additional IVR for each message to be played
It's recommended you set the No Input and Invalid Input options to Repeat Voice Menu

Voice Prompts
Voice Prompts are the audio files played in IVRs/ Auto attendants, when entering queues, can be played when calling a Hunt list, etc, etc.
Recording Voice Prompts
To record a new Voice Prompt from a phone select Media Files and then select Voice Prompts and finally click Create Voice Prompt.
Fill the filename and leave the format as WAV.
Select the phone to use for the recording from the drop down list, and click Start Recording.
The phone will ring and you can record the message at the prompt.
Uploading Voice Prompts
To upload a new Voice Prompt select Media Files and then select Voice Prompts and finally click Create Voice Prompt.
Select Choose File from Upload recorded files, select your WAV file and then click Upload.
You may have to resample your file for uploading, specifications are PCM, Signed, 16 bit mono, 8KHz.
Creating Feature Codes
Feature codes are used to provide an extension number than can be dialed to reach a feature, like an Auto Attendant, Hunt List, Queue, Voicemail, etc.
A simple feature code has the Code field set to a unique extension on the system (not conflicting with an user Extensions), a Description so everyone knows what it does and a Script relating to the function you need it to do.
Typically you'd also add a corresponding Contact in the Company Directory for the feature codes you create so it can be accessed by users without having to remember the feature code.
For example:

